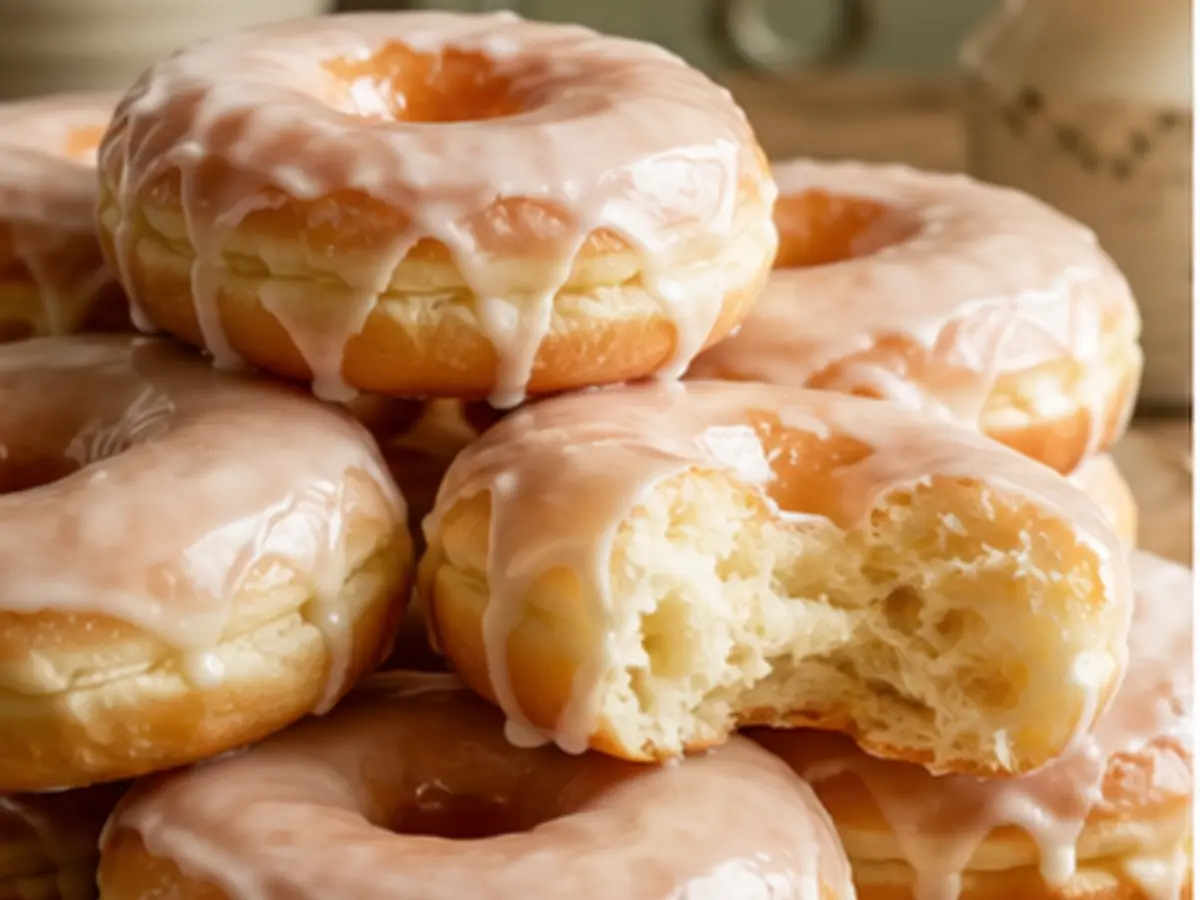
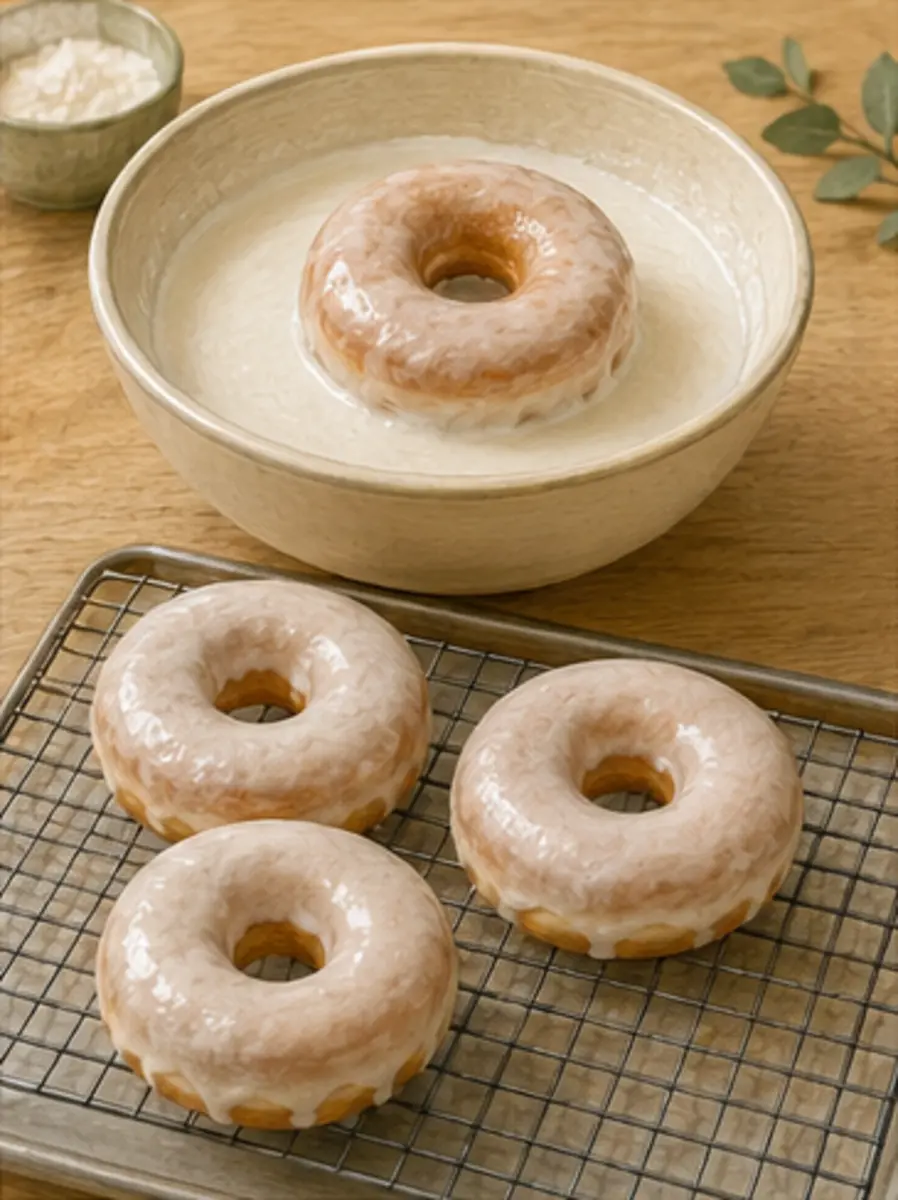
Light, airy homemade yeast doughnuts fried until golden and finished with a classic powdered-sugar glaze.
Dietary labels are based on the listed ingredients. For allergies or celiac disease, verify every packaged ingredient and guard against cross-contamination.Based on a handwritten Alton Brown yeast doughnut recipe.
FROM JO’S RECIPE NOTES
Why this recipe works
Cooling both the milk mixture and water to 100 to 110°F protects the active dry yeast while giving it a warm start.
A soft, thoroughly kneaded dough forms an elastic network that traps gas for an airy interior.
Two rises—first until doubled, then until the cut rings are visibly puffy—develop an even, light crumb.
Holding the oil near 365°F and frying only a few rings at a time browns the outside before the dough absorbs excess oil.
Ingredient notes
Active dry yeast
Check the expiry date and look for a creamy foam after 5 to 10 minutes in warm water. Water above 110°F can weaken the yeast.
Flour
The handwritten source uses 23 ounces, equal to 652 grams. Add it gradually and keep the dough slightly tacky rather than dusting in extra flour until stiff.
Vegetable shortening
Melt it gently in the milk, then cool the mixture before it touches the yeast. It contributes a tender crumb without adding water.
Frying oil
Choose a neutral high-heat oil, fill a wide heavy pot no more than halfway and use a clip-on thermometer throughout frying.
Glaze
Whisk confectioners’ sugar with the measured milk. It should fall from the whisk in a thick ribbon and cling opaquely to a warm doughnut.
Practical substitutions
These are conservative alternatives based on standard kitchen practice; results may vary from the original recipe.
A neutral unsweetened plant-based milk can replace whole milk in both the dough and glaze, although flavour and browning may vary.
Roll drained warm doughnuts in cinnamon sugar instead of glazing them.
Canola, sunflower or another neutral oil suitable for high-heat frying may be used; avoid strongly flavoured or low-smoke-point oils.
Troubleshooting
The yeast does not foam
The yeast may be expired or the water may be too hot or cool. Start again with fresh yeast and 100 to 110°F water before adding the other ingredients.
The dough is dense
Avoid excess flour, knead until elastic and let both rises reach their visual cues rather than shortening them to match the clock.
The doughnuts are greasy
The oil was likely too cool or the pot was crowded. Fry only 2 or 3 at once and let the oil return to 365°F between batches.
The outside browns before the centre cooks
Check the thermometer for overheated oil, keep the dough close to 3/8-inch thick and verify a test doughnut is airy rather than gummy inside.
The glaze slides off
Let the doughnuts cool until warm rather than hot, and add more confectioners’ sugar if the glaze does not cling in an opaque layer.
Storage and freezing
Doughnuts are at their lightest the day they are fried. Cool before storing airtight at room temperature for up to 1 day; refrigerating makes them stale faster.
Freeze completely cooled, unglazed doughnuts airtight for up to 1 month. Thaw at room temperature, warm briefly and glaze before serving.
Never leave hot oil unattended or add water to it. Turn the pot handle inward, keep children and loose clothing away, and cool used oil completely before handling.
Do not taste raw dough. Wash hands, bowls, mixer parts and work surfaces with warm soapy water after contact with raw flour and egg.
THE BUTTER & BLOOM RECIPE
Homemade Yeast Doughnuts
Print-friendly layout
Preparation time
40 min
Cooking time
20 min
Total time
2 hrs 30 min
Yield
about 20 doughnuts plus holes
Cuisine
North American
Updated
Ingredients
1 1/2 cups (360 mL) whole milk
2 1/2 oz (71 g) vegetable shortening
2 packets (14 g) active dry yeast
1/3 cup (80 mL) warm water, 100 to 110°F (38 to 43°C)
2 large eggs, beaten
1/4 cup (50 g) granulated sugar
1 1/2 teaspoons fine salt
1 teaspoon ground nutmeg
23 oz (652 g; about 5 1/2 cups) all-purpose flour, plus a little for dusting
2 quarts (about 1.9 L) neutral high-heat oil, such as canola, for frying
2 cups (240 g) confectioners’ sugar
1/3 cup (80 mL) whole milk, plus 1 teaspoon only if needed for the glaze
Detailed directions for Homemade Yeast Doughnuts
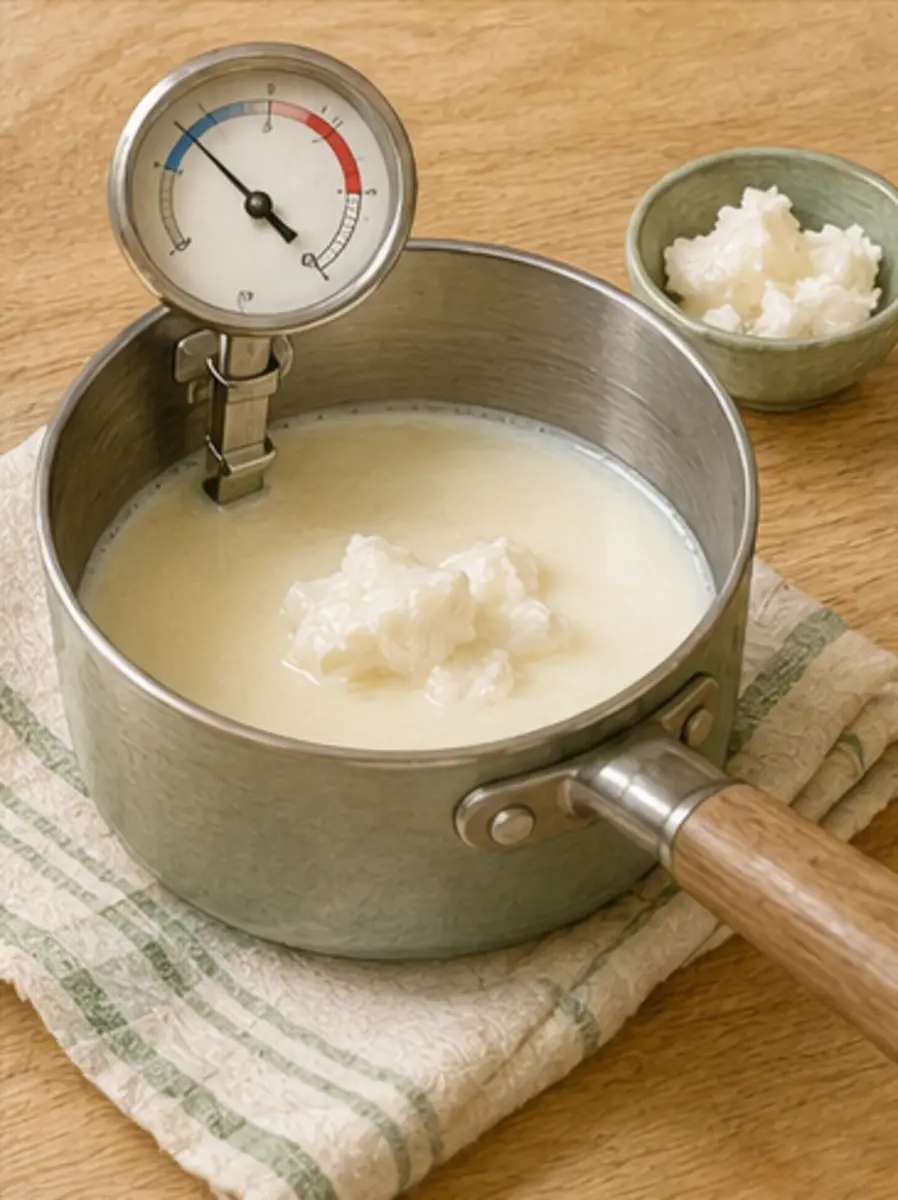
Warm the milk mixture — Heat the 1 1/2 cups milk and shortening in a small saucepan over low heat just until the shortening melts; do not boil. Remove from the heat and cool to 100 to 110°F (38 to 43°C), comfortably warm rather than hot, so it will not damage the yeast.Homemade Yeast Doughnuts · AI instructional image: Melt the shortening over low heat, then cool the milk mixture until comfortably warm.
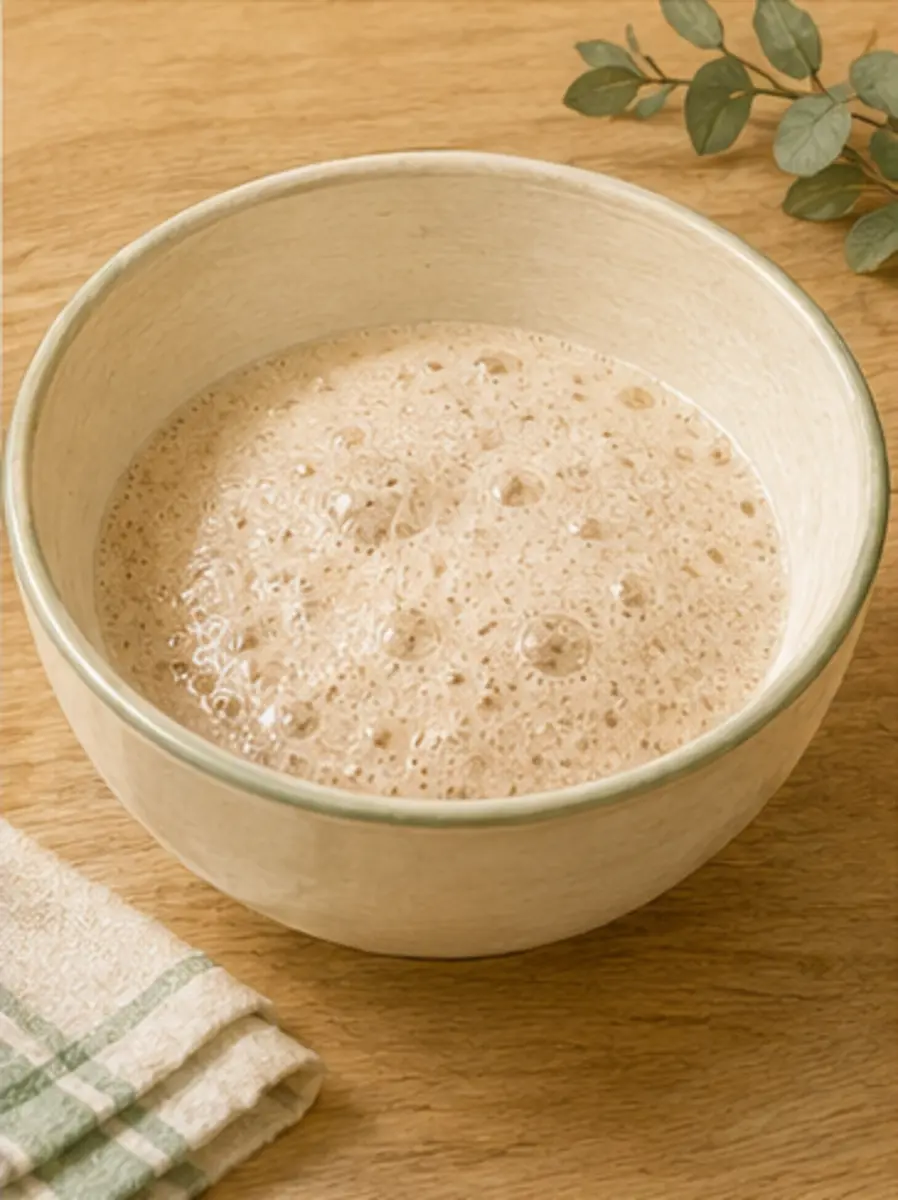
Activate the yeast — Pour the warm water into the bowl of a stand mixer and sprinkle the active dry yeast over it. Leave for 5 to 10 minutes, until a creamy foam covers the surface. If no foam appears, replace the yeast and water before continuing.Homemade Yeast Doughnuts · AI instructional image: Wait for a creamy foam before building the dough.
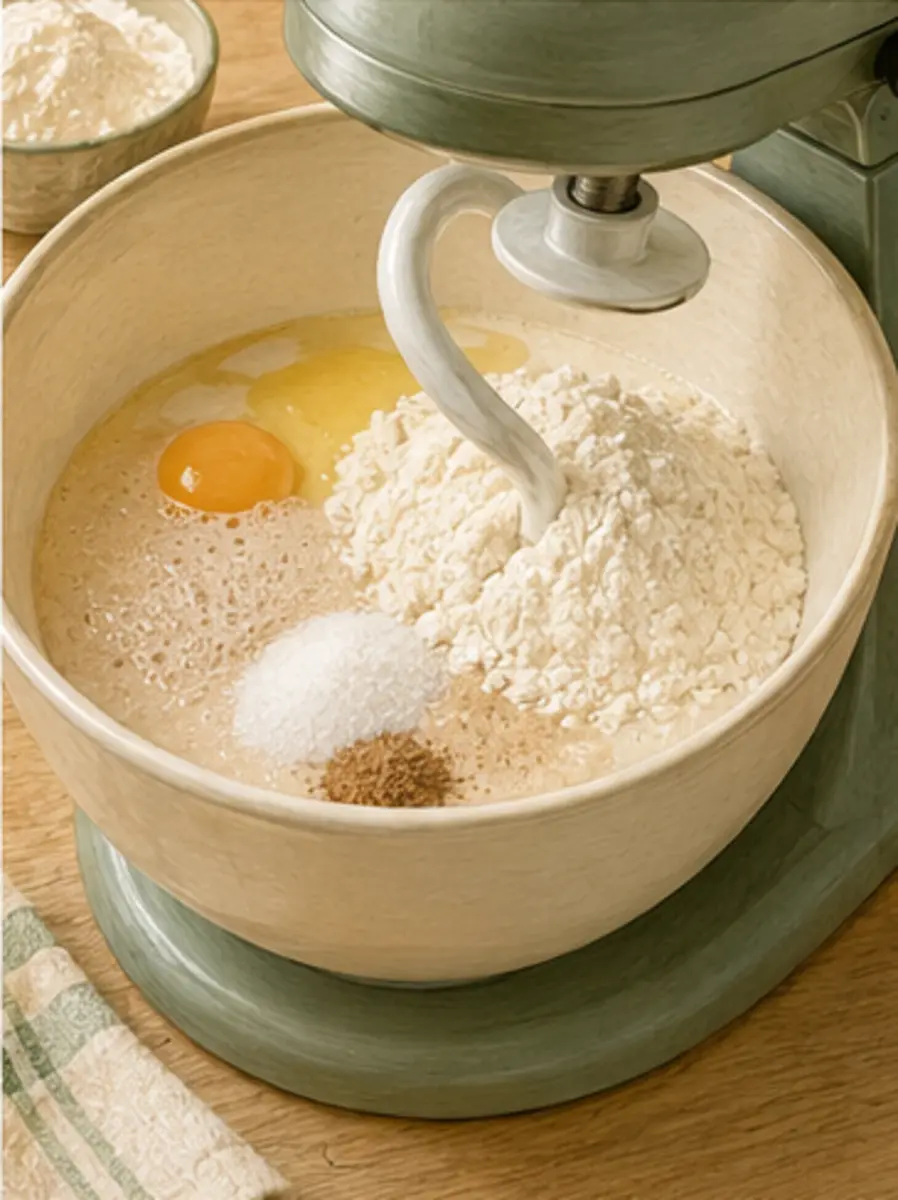
Start the dough — Add the cooled milk mixture, beaten eggs, sugar, salt, nutmeg and about half of the flour to the yeast. Mix with the paddle on low until moistened, then on medium for 2 to 3 minutes until smooth, stopping to scrape the bowl.Homemade Yeast Doughnuts · AI instructional image: Mix the liquids, seasonings and half the flour until smooth.
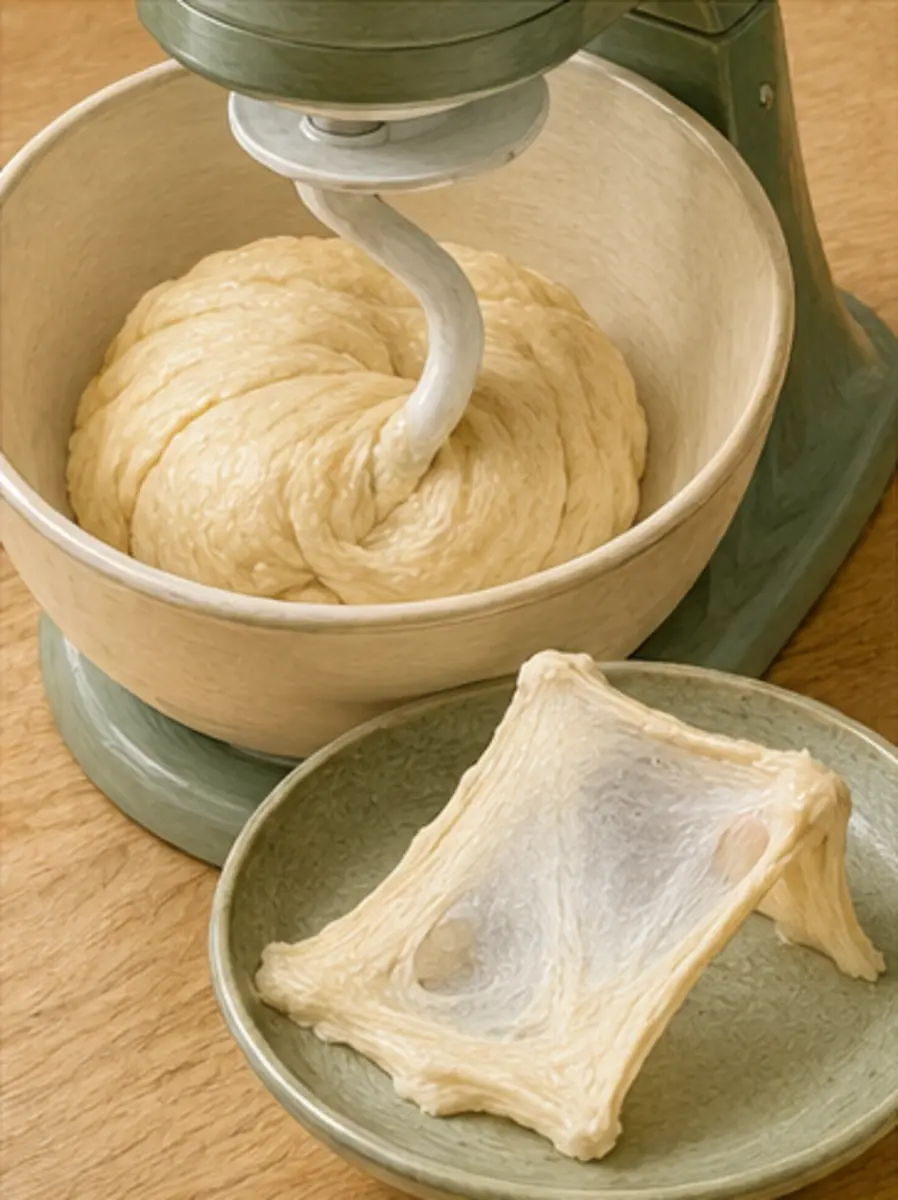
Knead until elastic — Switch to the dough hook. Add the remaining flour gradually on low, then knead for 5 to 8 minutes, until the dough is smooth, elastic and slightly tacky but clears the bowl. Avoid adding excess flour; a small stretched piece should become thin enough for light to pass through before tearing. Do not taste raw dough, and wash hands and equipment after handling flour and egg.Homemade Yeast Doughnuts · AI instructional image: Knead until smooth, elastic and slightly tacky, with a thin windowpane.
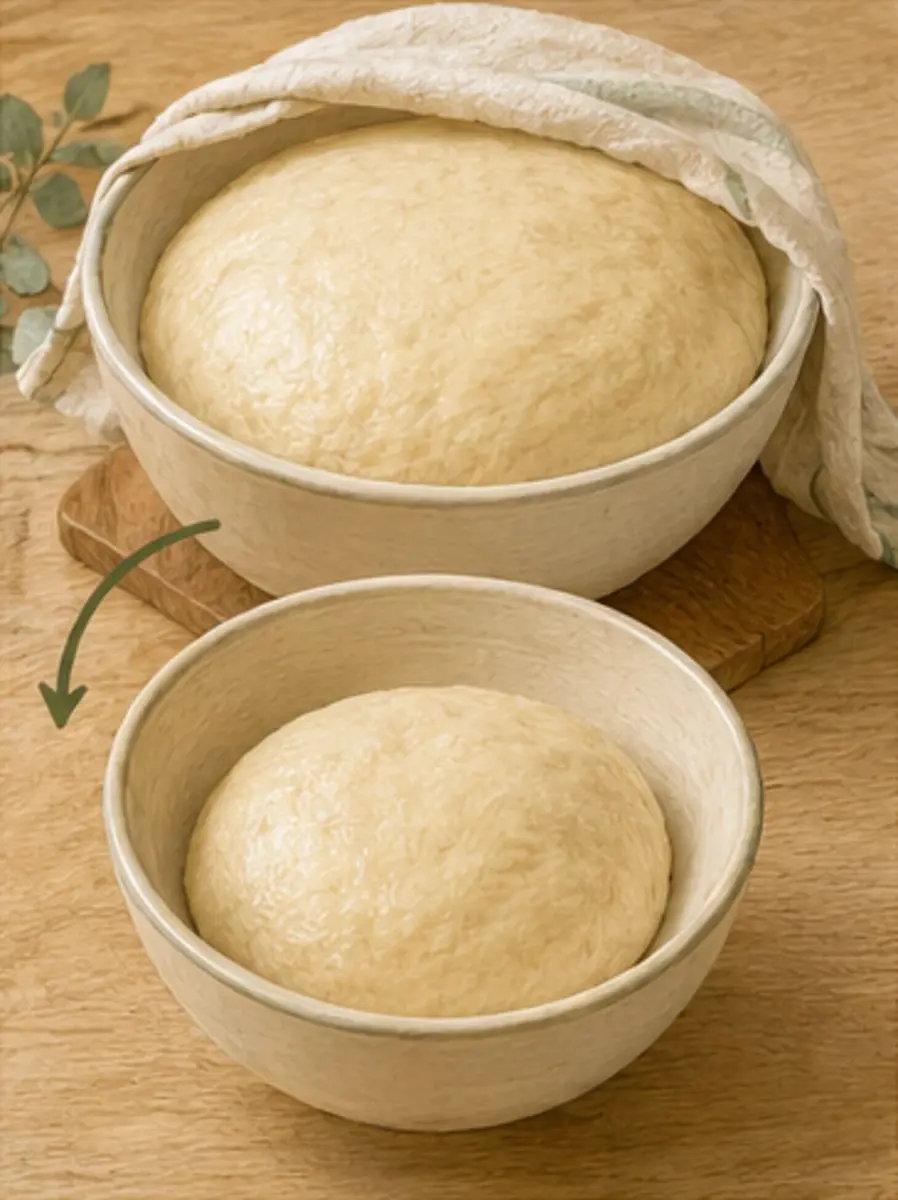
Let the dough rise — Transfer the dough to a lightly oiled bowl, turn once to coat and cover. Let rise in a warm, draft-free place for about 1 hour, until doubled; use the visual change rather than the clock alone. Gently press out the gas without kneading again.Homemade Yeast Doughnuts · AI instructional image: Let the covered dough rise until doubled rather than relying on the clock alone.
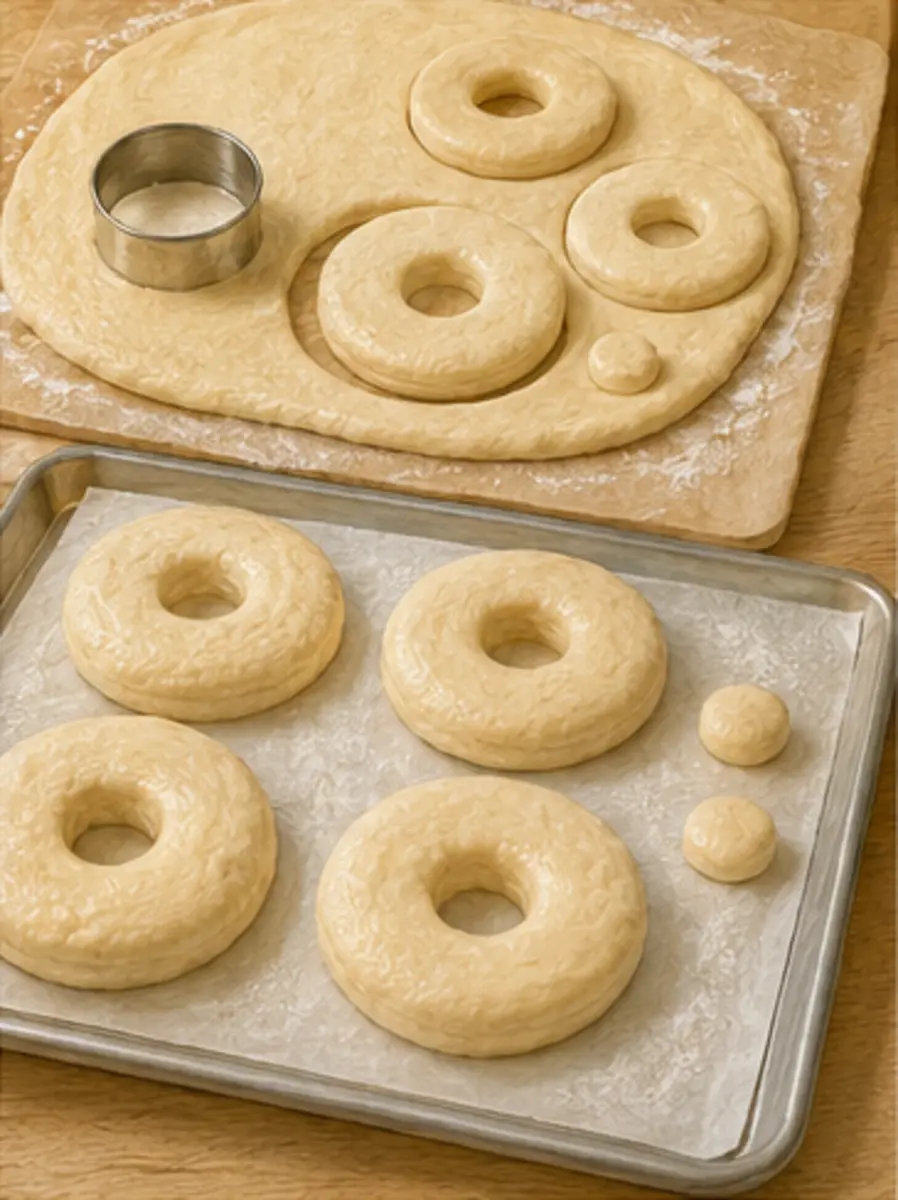
Cut and proof — On a lightly floured surface, roll the dough to 3/8-inch (1 cm) thick. Cut rings with a 3-inch doughnut cutter and place them, with the holes, on individual parchment squares or a lightly floured parchment-lined tray. Cover loosely and rise for about 30 minutes, until visibly puffy and a gentle fingertip press springs back slowly.Homemade Yeast Doughnuts · AI instructional image: Roll evenly, cut clean rings and proof until puffy with a slow-springing indentation.
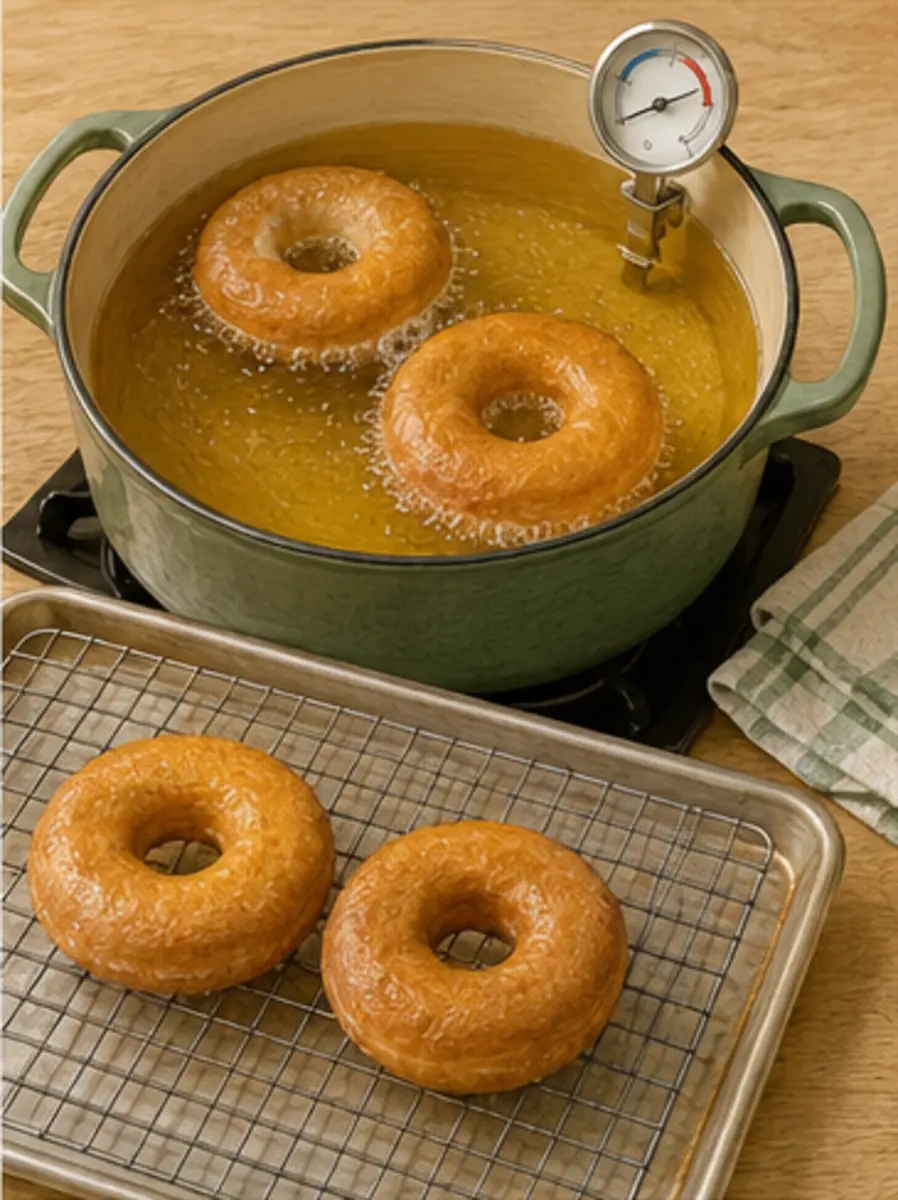
Fry safely and evenly — Pour the oil into a wide, heavy pot so it is no more than half full. Clip on a deep-fry thermometer and heat to 365°F (185°C). Keep the pot handle turned inward, never add water and never leave hot oil unattended. Fry 2 or 3 doughnuts at a time for about 1 minute per side, until evenly golden; let the oil return to 365°F between batches. Transfer with a spider or slotted spoon to a rack set over a sheet pan. The centre of a test doughnut should be cooked through and airy, not gummy.Homemade Yeast Doughnuts · AI instructional image: Hold the oil at 365°F (185°C), fry in small batches and drain on a rack.
Glaze and store — Whisk the confectioners’ sugar with the 1/3 cup milk until smooth and thick but pourable, adding only 1 teaspoon more milk if needed. When the doughnuts are warm but no longer hot, dip the tops, let excess glaze drip off and return them to the rack until set. They are best the day they are fried; store cooled leftovers airtight for 1 day or freeze unglazed doughnuts for up to 1 month.Homemade Yeast Doughnuts · AI instructional image: Dip warm, not hot, doughnuts in thick smooth glaze and let them set on the rack.
Keywords: fluffy homemade yeast doughnuts · yeast doughnuts with glaze · Alton Brown yeast doughnuts · fried doughnuts from scratch · how to make yeast donuts · classic glazed doughnut recipe
Published · Updated
READER REVIEWS
Be the first to review
☆☆☆☆☆
Loading reviews…
COMMON QUESTIONS
Homemade Yeast Doughnuts FAQ
What temperature should the oil be?
Keep it near 365°F (185°C), the temperature documented with this recipe. Monitor continuously and let it recover between small batches.
How do I know yeast doughnuts are proofed?
The rings should look visibly puffy, and a gentle fingertip indentation should spring back slowly. A fast rebound means they need longer; a collapsing indentation indicates over-proofing.
How do I know the dough is kneaded enough?
It should feel smooth and elastic, clear the mixer bowl while remaining slightly tacky, and stretch into a thin translucent window before tearing.
Can I bake this dough?
The formula is designed for frying. Baking produces a drier, bread-like ring rather than the intended thin golden exterior and airy crumb.
Can I make yeast doughnuts ahead?
For best texture, fry and serve the same day. You may freeze cooled unglazed doughnuts for up to 1 month, then thaw, warm and glaze them.
KEEP EXPLORING
Recipes to make next
Continue with these closely related recipes from The Butter & Bloom kitchen.